Site surveys that won't make you pull your hair out
Every sign shop has a version of this story. Installer shows up. Channel letters on the truck. Crane booked. And then: "There's a 4-inch gas line running right behind the fascia where we need to drill."
THE EXPENSIVE DRIVE
Every sign shop has a version of this story... Installer shows up. Channel letters on the truck. Crane booked. And then: "There's a 4-inch gas line running right behind the fascia where we need to drill." Or the soffit is rotted. Or the electrical disconnect is 200 feet away on the other side of the building and nobody noted it. Job stops. Truck rolls back. Crane company still charges you. Customer calls wondering why their grand opening signage isn't up.
Somewhere in the chain, somebody took three blurry photos from the parking lot six weeks ago and called it a site survey.
We've watched this pattern destroy margins on jobs that were otherwise perfectly estimated, designed, and fabricated. The sign was fine. The survey was garbage. The worst part is it's almost always preventable. Not with expensive software or drone flyovers, just with a repeatable checklist and
the discipline to actually use it.
TWO DIFFERENT FAILURES
Bad surveys fail in two ways and they need different fixes.
The first is missing information. Nobody shot the back of the wall, or measured parapet height, or checked if there's power within 50 feet. This is a checklist problem. Standardized photo list, standardized measurement protocol, run it every time regardless of how "simple" the job looks.
The second is bad information. Measurements taken wrong, photos at angles that make a 14-foot fascia look like 18, notes that say "power nearby" without defining what "nearby" means. This is a training problem, and you solve it with hard rules about how things get captured, not just what to capture.
Most shops tackle the first one. Make a checklist, it gets ignored after two weeks, but at least it existed. Almost nobody tackles the second one, which is where the really expensive mistakes live.
WHAT TO SHOOT
"Take lots of photos" is useless advice. Everyone thinks they took enough until they're back at the shop trying to figure out what the wall substrate is. Here's the actual list, and we mean every one of these, every time.
- Straight-on elevation of the full facade. Not from the car, not at an angle. Stand dead center, back up until you see the full building face and roofline. If you can't get far enough back because of a parking island or a road, note it. Your install crew will probably have access issues too.
- Scale reference. Same angle but with something of known dimension visible. Tape measure against the wall, a person standing at the base, a level propped on the fascia. This is your insurance when measurements don't add up later. Without scale reference, photos lie.
- Obstructions. This is where most surveys fall apart. Walk the full sign area and shoot every single thing that could interfere. Downspouts, conduit, alarm boxes, cameras, light fixtures, gas meters, HVAC near the parapet, vents, reveals, awning brackets, old anchor points. Get close enough that someone in the shop can identify what they're looking at. "There's a box on the wall" means nothing. "12x12 junction box, 6 inches left of center, 18 inches below fascia line" means everything.
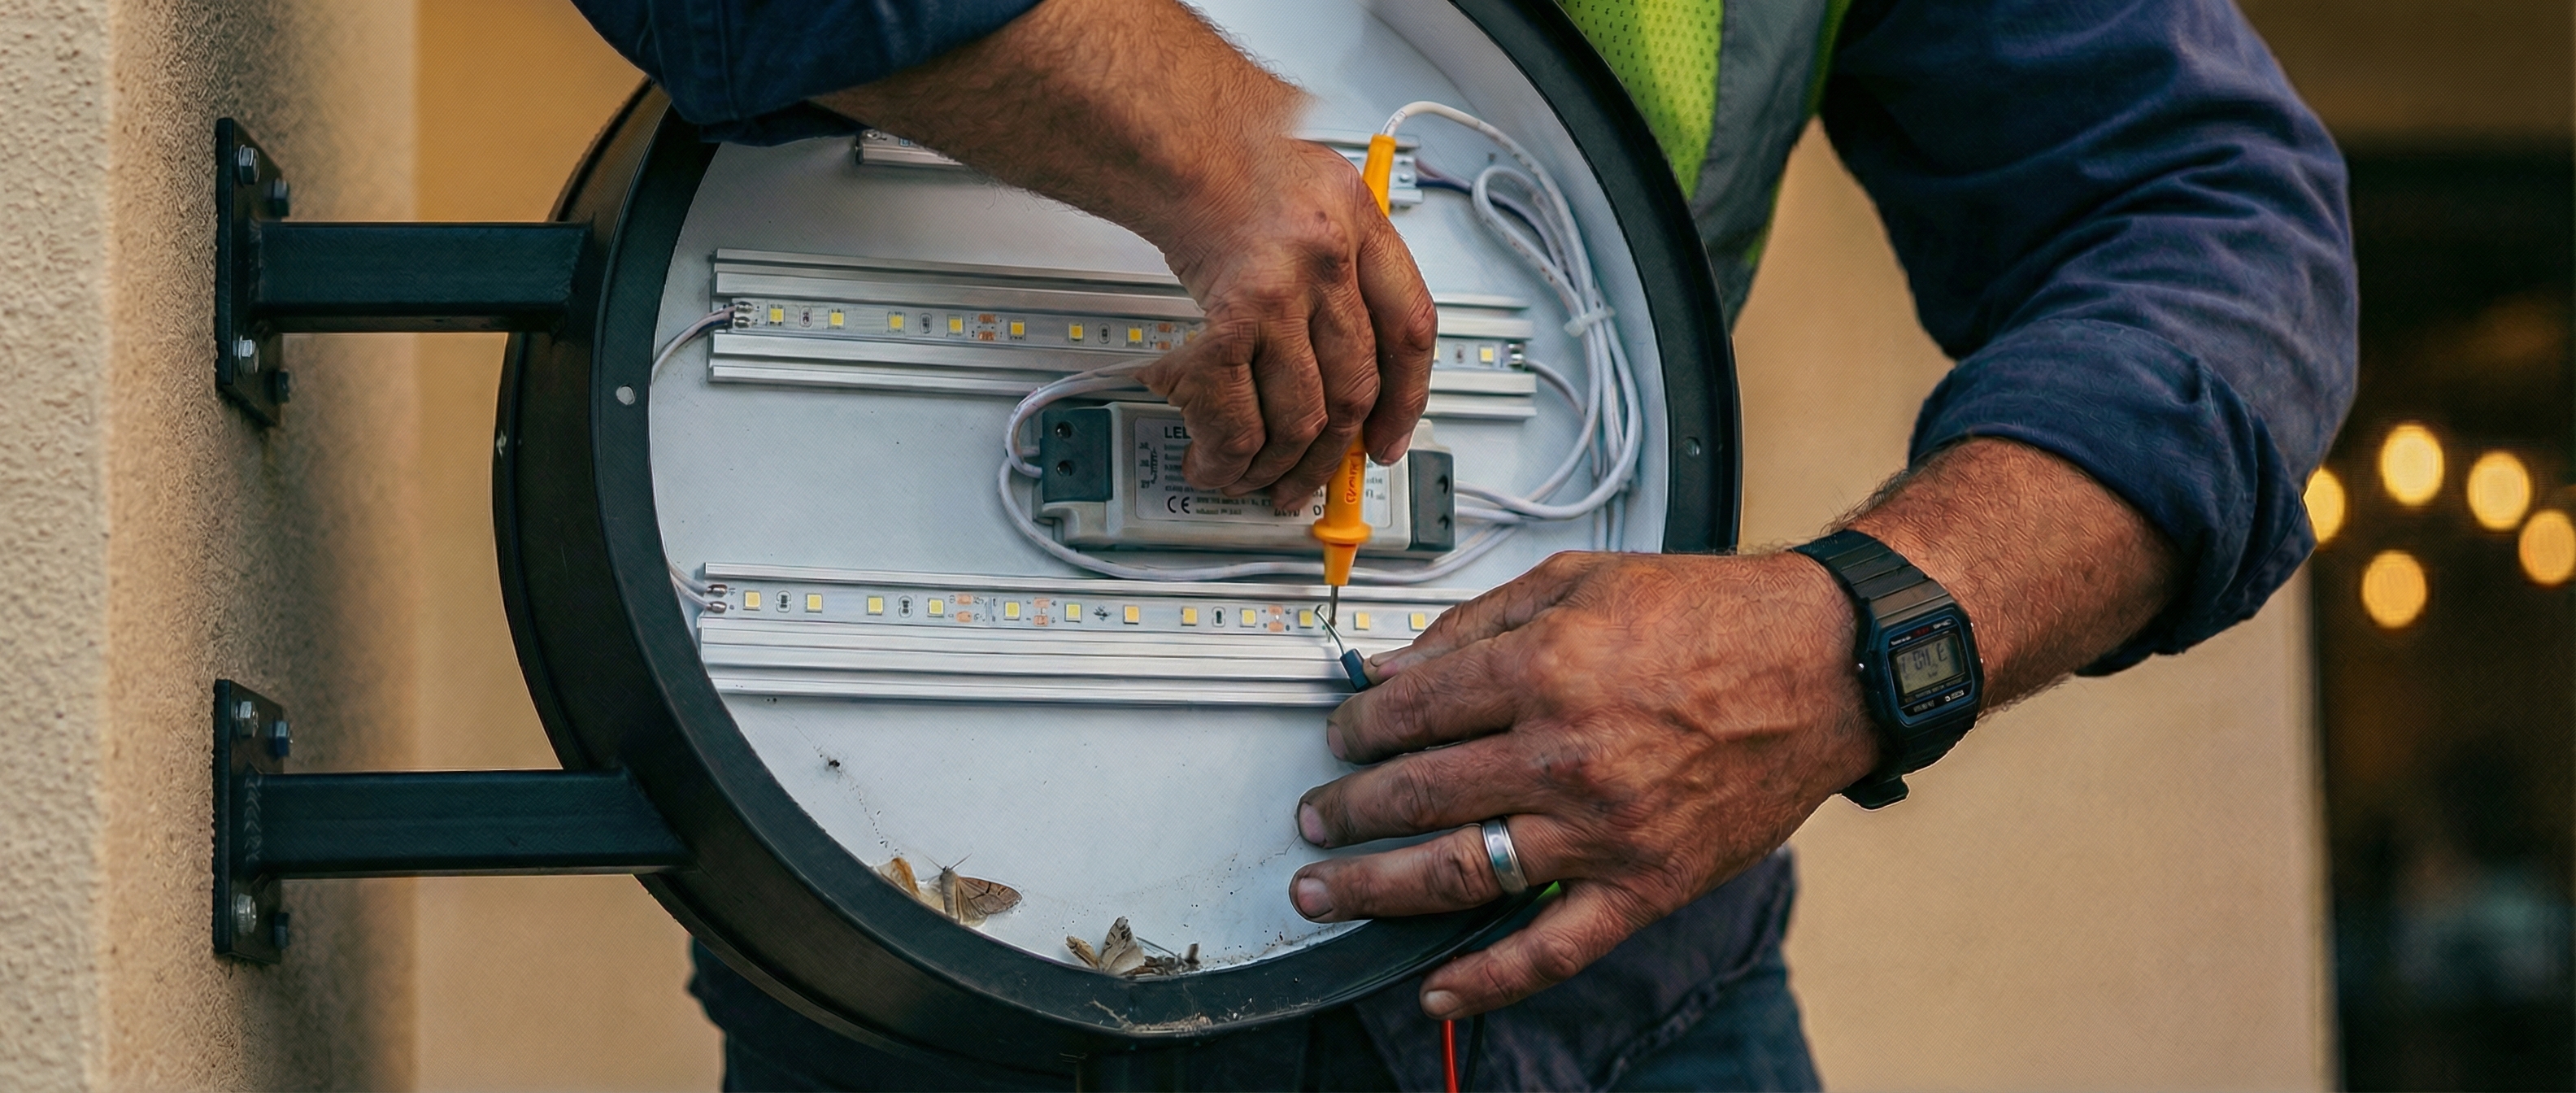
- Wall detail. Close-ups of the surface so someone can tell if it's EIFS, split-face block, brick, metal panel, stucco over frame, or precast. If there's old signage, shoot how it's mounted. Through-bolts? Raceway? Clips? Cracked around old anchors? This tells fab what fasteners to spec and tells the installer what they're drilling into.
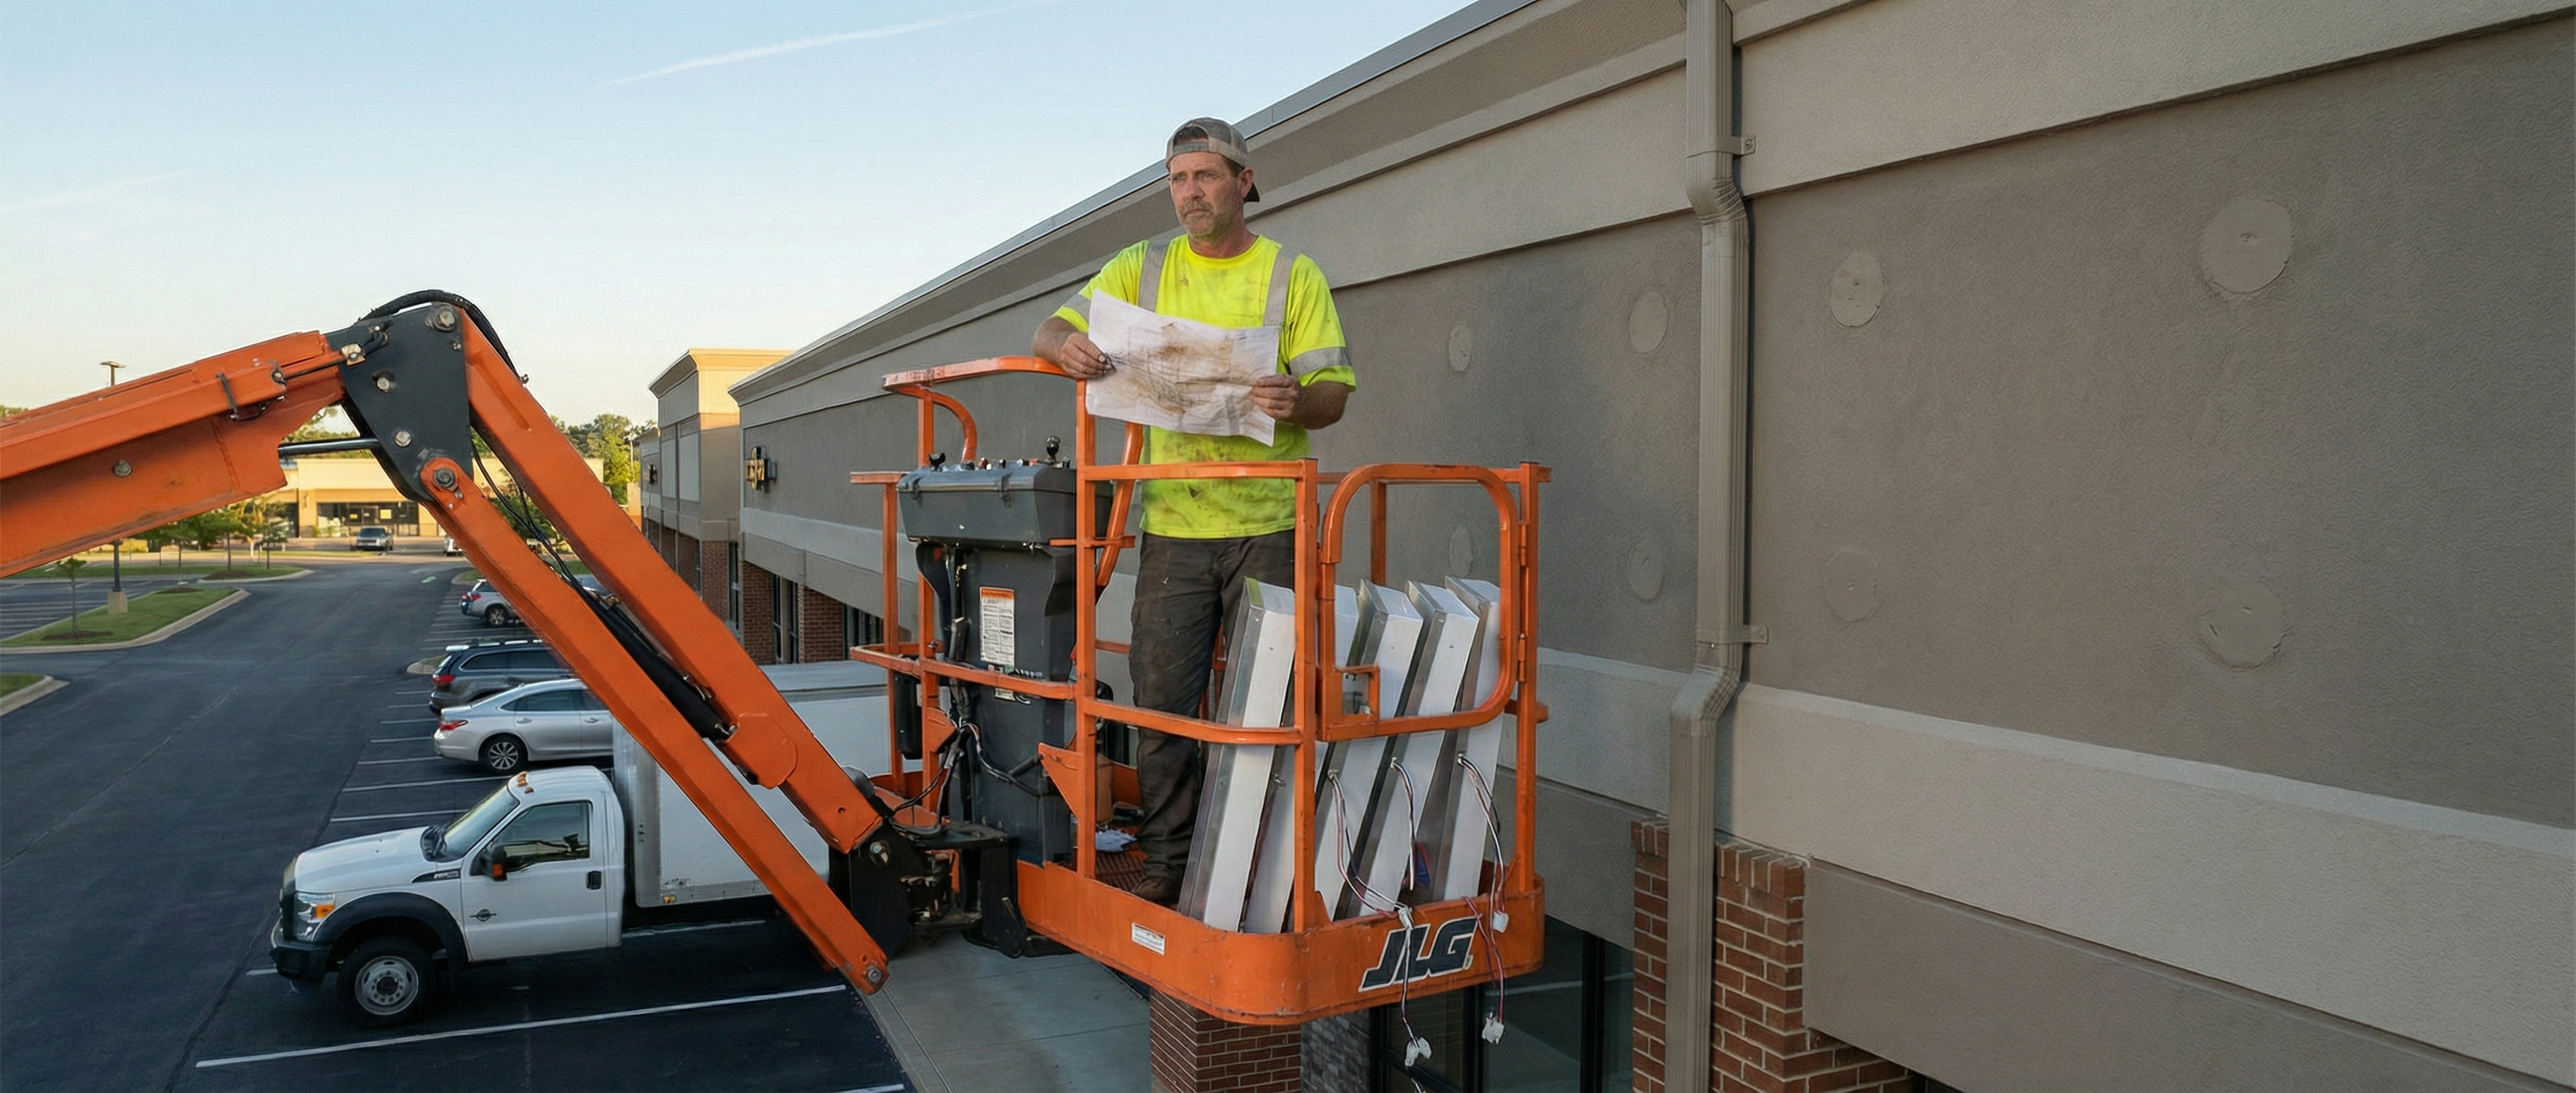
- Access. Stand where the crane or lift would set up and shoot the ground. Flat? Gravel? Landscaped? Curb? Sidewalk that can't be blocked? Overhead power lines? How far is the nearest drive approach? If it's a strip mall, shoot the adjacent tenant spaces because the installer needs to know if they'll be blocking someone's door. Look up. Awnings, overhangs, trees that limit boom reach. Shoot those too.
- Electrical. Find the panel. Open it if you can and shoot the breaker layout. Is there a dedicated sign circuit or does one need to be added? Shoot the conduit path from panel to sign location. If there's no existing path, shoot what's between them so someone can plan the run. Measure the distance in actual cable-run feet, not straight line. Cable doesn't fly through walls. If you can't trace the run, note that an electrician needs a separate visit. Don't guess. Guessing on wire runs is how you eat $2,000 in unplanned electrical.
- Context. Wide shots from the street, both approach directions. Full property, adjacent buildings, sight lines, existing signage nearby. These help with design (how will this read at 45 mph?) and permitting (most municipalities want to see the full context relative to property and right-of-way).
On a complex job you might take 50 to 80 photos, which sounds like overkill until the first time it saves you a return trip that costs more than the survey itself.
HOW TO MEASURE
- Photos without measurements are decoration. Measurements without photos are guesses. You need both, and the measurements need rules.
- Always measure in total inches, not feet-and-inches. "7 feet 4 and a half inches" turns into "7'4" or "7.5'" or "74.5" or who knows what by the time it hits the fab floor. 88.5 inches is one number. Unambiguous.
- Measure to fixed reference points, not to each other. Don't just measure the fascia width. Measure from the left building edge to the left side of the sign area. From the right edge to the right side. And the total building width. Three numbers that should reconcile. If they don't, you know before you leave the site. Same thing vertically - grade to fascia bottom, grade to fascia top, fascia height independently, and triangulate everything.
- Measure obstructions relative to the sign location, not to each other. Every obstruction gets two numbers: horizontal distance from a fixed reference point and vertical distance from another. "The downspout is 36 inches from the junction box" is useless if nobody recorded where either one sits relative to the sign center.
- Confirm depth. Wall signs aren't flat. You need wall depth, parapet cap depth, any reveals or recesses, and total projection. If landlord criteria say "signs shall not project more than 12 inches," you need to know where the building face actually is, because a 4-inch raceway plus 5-inch channels on a 2-inch standoff is already 11 before mounting clips.
WHO REVIEWS THIS
In most shops, site surveys get done by whoever's available: the sales rep, an installer between jobs, sometimes the customer. That's exactly why they're inconsistent.
The survey is a production document, not a sales tool. It exists to prevent fabrication errors, install failures, and return trips. The people who suffer when it's wrong (your production manager and your lead installer) should own the standard. Sales can be there, but the checklist and the measurement protocol need to come from the people who build and hang the signs.
If you can't dedicate trained field people to surveys, at minimum train everyone who might do one to the same standard, and have someone in the shop review every survey package before the job moves to production. Five minutes of review in the office catches problems that cost five hours in the field.
THE UNSEXY FIX
There's no app that makes this fun. There's no shortcut that replaces walking the building, measuring twice, and taking 40 photos of a strip mall fascia. But the shops that do this consistently, the ones with a real checklist and real measurement standards and someone actually reviewing the package before production starts, they're the ones whose installers aren't standing in a parking lot calling the shop to say the sign doesn't fit.
A bad survey is a process problem, and you fix process problems with process, not by hoping the next person remembers to check for the gas line.
Keep reading
Design for the maintenance workers
We ask this on every project now: how does this sign get opened, cleaned, and serviced without shutting down a hallway, blocking traffic, disassembling half of it in the field, or removing it entirely?
Why Sign Fabricators and Architects Don't Always Speak the Same Language
"Provide illuminated signage per elevation drawings." I've read that line on hundreds of CD sets. And every time, it kicks off the same cycle: the sign company bids on what they think it means, the architect expects something different, an RFI gets filed, and two weeks evaporate while everyone clarifies terms that both sides thought were already clear.
Good signage starts
with a conversation.
Every project is different. Let’s talk about yours.